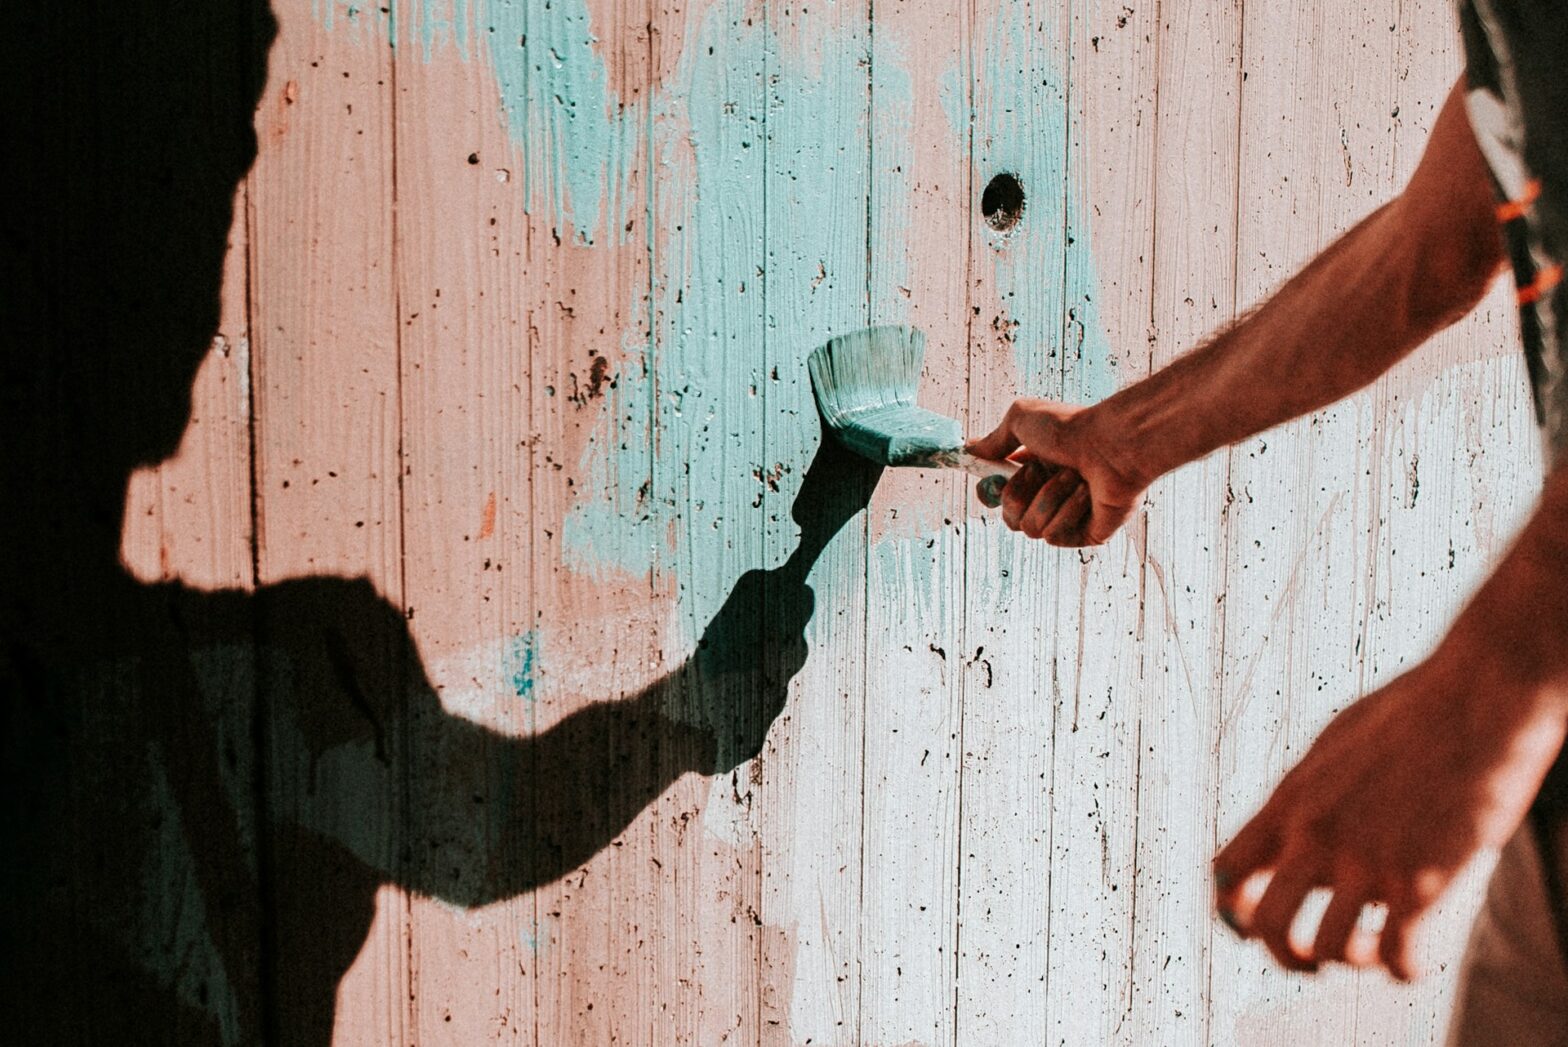
A fresh coat of paint can breathe new life into any space, transforming it from mundane to magnificent. However, the key to a truly professional-looking finish lies in the technique used during the application process. In this guest post, we’ll delve into the world of painting and explore the tips and tricks from a trusted painting contractor on how to master the roller for a flawless finish.
1. Choose the Right Roller
Selecting the appropriate roller is the first step toward achieving a professional finish. Different surfaces require different types of rollers. For smooth surfaces like drywall, opt for a short-nap roller (1/4 inch or 3/8 inch), while rough surfaces like textured walls benefit from a longer nap (1/2 inch or 3/4 inch). A trusted painting contractor emphasizes the importance of investing in high-quality rollers to ensure smooth application and even coverage.
2. Prep the Surface
Before diving into the painting process, proper surface preparation is crucial. Clean the walls to remove any dust, dirt, or grease, and patch up any imperfections with spackle or joint compound. Sand the patched areas for a smooth surface, and don’t forget to prime the walls to create a suitable base for the paint. A well-prepared surface sets the stage for a flawless finish.
3. Use the W Technique
The W technique is a tried-and-true method employed by professional painters to achieve even coverage and minimize roller marks. Start by rolling a W shape on the wall, then fill in the shape without lifting the roller. This ensures that the paint is distributed evenly and avoids streaks. Maintain a wet edge by overlapping each stroke slightly, preventing lap marks that can result from drying paint.
4. Don’t Overload the Roller
One common mistake made by amateur painters is overloading the roller with paint. Excess paint can lead to drips, uneven coverage, and an unprofessional finish. Instead, load the roller evenly by rolling it back and forth in the paint tray, allowing the paint to saturate the roller cover without creating excess buildup. A trusted painting contractor stresses the importance of patience in this step – it’s better to apply multiple thin coats than one thick, uneven layer.
5. Keep a Wet Edge
To avoid visible seams or lines where wet paint meets dry paint, maintain a wet edge throughout the painting process. Work in small, manageable sections and blend each stroke into the previous one while the paint is still wet. This technique not only ensures a smooth transition between sections but also prevents the formation of lap marks, resulting in a seamless, professional finish.
6. Feather the Edges
Feathering the edges involves lightly rolling over the painted surface to blend any overlapping areas and create a smooth transition. This technique is especially important when working with large expanses of wall or when changing colors. Feathering the edges helps to eliminate visible lines and ensures a cohesive and professional appearance.
Conclusion
Mastering the roller is an essential skill for achieving a professional-looking finish in any painting project. By choosing the right roller, prepping the surface meticulously, and employing techniques such as the W technique, avoiding paint overloading, maintaining a wet edge, and feathering the edges, you can elevate your painting skills to the level of a trusted painting contractor. With these tips and tricks, your next painting project is sure to leave a lasting impression with a flawless and professional finish.